The tradition & historical record
6 min read · 2 sourcesMachine embroidery is the process of using a sewing or embroidery machine to create decorative stitching on fabric. It is widely used in commercial branding, product decoration, uniform embellishment, and personal customization. Most modern embroidery machines are computer-controlled and rely on digitized embroidery files to execute designs. The most common stitch types in machine embroidery include the running stitch (a simple line used for outlines or travel paths), the satin stitch (used for narrow, dense decorative elements and lettering), and the tatami stitch (also known as fill stitch, used to cover larger areas). To connect distant parts of a design, embroidery software generates connector stitches—short stitches that may be visible (as jump stitches) or hidden beneath other stitching. At the beginning and end of sections, lock stitches are often used to secure the threads and prevent unraveling. Free-motion sewing machine embroidery uses a basic zigzag sewing machine and designs are made manually. Chenille embroidery is a decorative technique that uses a looped or tufted yarn to create a soft, velvety texture on fabric. It is typically done with a specialized chenille embroidery machine, where a chain stitch needle and a loop-pile mechanism form raised loops on the surface. This style is often used for varsity letters, patches, and textured logos on apparel. 1
History
Before computers were affordable, most machine embroidery was completed by punching designs on paper tape that then ran through an embroidery machine. One error could ruin an entire design, forcing the creator to start over. Machine embroidery dates back to 1964 when Tajima started to manufacture and sell TAJIMA Multi-head Automatic Embroidery machines. In 1973, Tajima introduced the TMB Series 6-needle (6 colors) full-automatic color-change embroidery machine. In 1978, Tajima started manufacturing the TMBE Series Bridge Type Automatic Embroidery machines. These machines introduced electronic 6-needle automatic color change technology. In 1980 the first computerized embroidery machines were introduced to the home market. Wilcom introduced the first computer graphics embroidery design system to run on a minicomputer. Melco, an international distribution network formed by Randal Melton and Bill Childs, created the first embroidery sample head for use with large Schiffli looms. These looms spanned several feet across and produced lace patches and large embroidery patterns. The sample head allowed embroiderers to avoid manually sewing the design sample and saved production time. Subsequently, it became the first computerized embroidery machine marketed to home sewers. The economic policy of the Reagan presidency helped propel Melco to the top of the market. At the Show of the Americas in 1980, Melco unveiled the Digitrac, a digitizing system for embroidery machines. The digitized design was composed at six times the size of the embroidered final product. The Digitrac consisted of a small computer, mounted on an X and Y axis on a large whiteboard. It sold for $30,000. The original single-needle sample head sold for $10,000 and included a 1" paper-tape reader and 2 fonts. 1
Free-motion machine embroidery
In free-motion machine embroidery, embroidered designs are created by using a basic zigzag sewing machine. As this type of machine is used primarily for tailoring, it lacks the automated features of a specialized machine. The first zigzag sewing machine was patented by Helen Blanchard. To create free-motion machine embroidery, the embroiderer runs the machine and skillfully moves tightly hooped fabric under the needle to create a design. The "feed dogs" or machine teeth are lowered or covered, and the embroiderer moves the fabric manually. The embroiderer develops the embroidery manually, using the machine's settings for running stitch and fancier built-in stitches. A machine's zigzag stitch can create thicker lines within a design or be used to create a border. As this is a manual process rather than a digital reproduction, any pattern created using free-motion machine embroidery is unique and cannot be exactly reproduced, unlike with computerized embroidery. 1
Cornely hand-guided embroidery
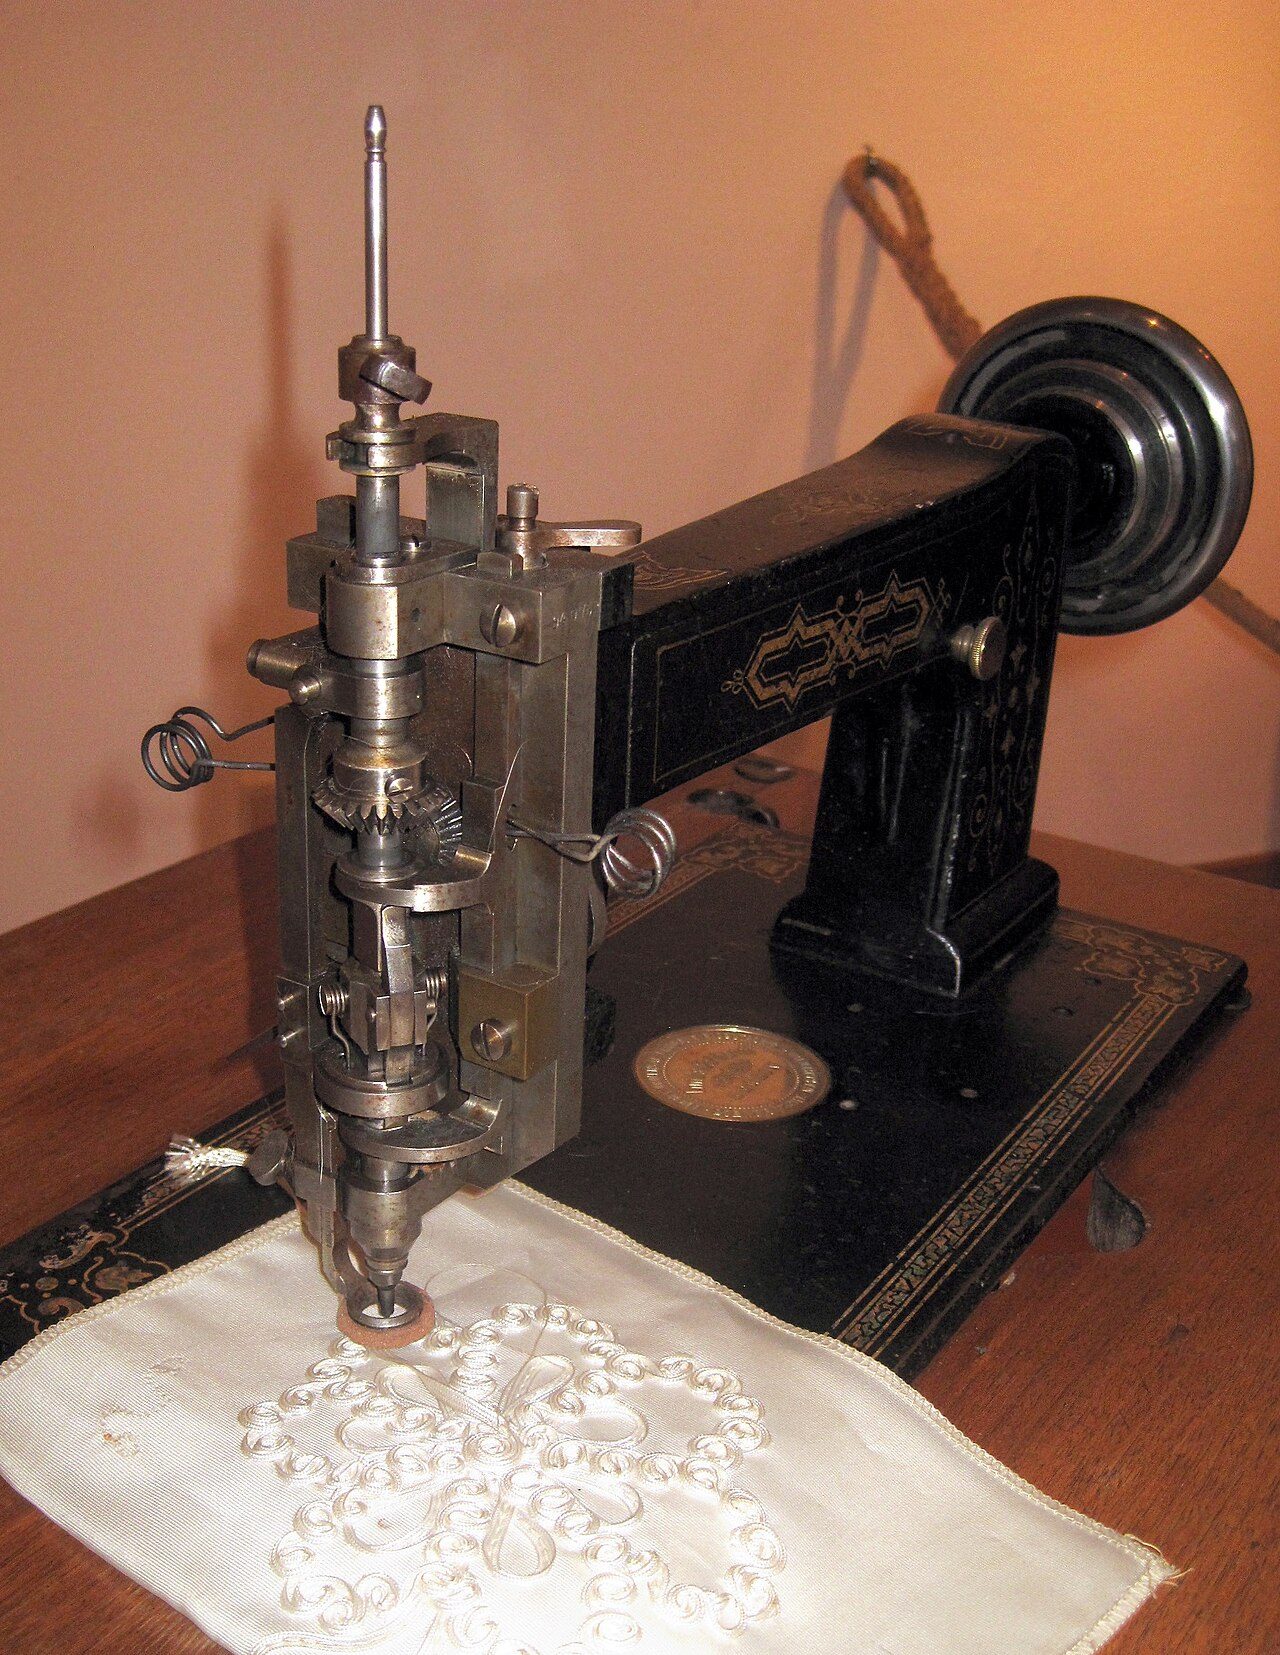
This embroidery inherited the name of the Cornely machine. Created in the 19th century to imitate the Beauvais stitch (chain stitch), it is still used today, especially in the fashion industry. Cornely embroidery is a so-called hand-guided embroidery. The operator directs their machine according to the pattern. The fabric is moved by a crank located under the machine. The Cornely also has a universal drive system controlled by a handle. Some models can embroider sequins, cords, braids, etc. There are also Cornely machines performing a classic straight stitch. 1
Computerized machine embroidery
Most modern embroidery machines are computer controlled and specifically engineered for embroidery. Industrial and commercial embroidery machines and combination sewing-embroidery machines have a hooping or framing system that holds the framed area of fabric taut under the sewing needle and moves it automatically to create a design from a pre-programmed digital embroidery pattern. Depending on its capabilities, the machine will require varying degrees of user input to read and sew embroidery designs. Sewing-embroidery machines generally have only one needle and require the user to change thread colors during the embroidery process. Multi-needle industrial machines are generally threaded prior to running the design and do not require re-threading. These machines require the user to input the correct color change sequence before beginning to embroider. Some can trim and change colors automatically. 1
The computerized machine embroidery process
Machine embroidery is a multi-step process with many variables that impact the quality of the final product, including the type of fabric to be embellished, design size, stabilizer choice and type of thread utilized. The basic steps for creating embroidery with a computerized embroidery machine are as follows: 1
Create an embroidery design file or purchase a stitchable machine embroidery file. Creation may take hours depending on the complexity of the design, and the software can be costly. Edit the design and/or combine with other designs. Export the design file to a (proprietary machine) embroidery file that mostly just contains commands for the embroidery machine. If you bought such a file, you may have to convert the file. Load the embroidery file into the embroidery machine, making sure it is the correct format for the machine and that the stitched design will fit in the appropriate hoop. Determine and mark the location of embroidery placement on the fabric to be embellished. Secure the fabric in a hoop with the appropriate stabilizer, and place it on the machine. Center the needle over the start point of the design. Start and monitor the embroidery machine, watching for errors and issues. Troubleshoot any problems as they arise. 1
The text above is adapted from the Wikipedia article “Machine embroidery”, available under the Creative Commons Attribution-ShareAlike 4.0 licence. 1
machine embroidery is technique of embroidering with a sewing machine or purpose-made embroidering machine, according to the structured record cited below. This entry was generated automatically from that record and has not yet been reviewed by a person familiar with the tradition. 2
The source record links this tradition to 5 external registers, which can be verified through the citation. 2